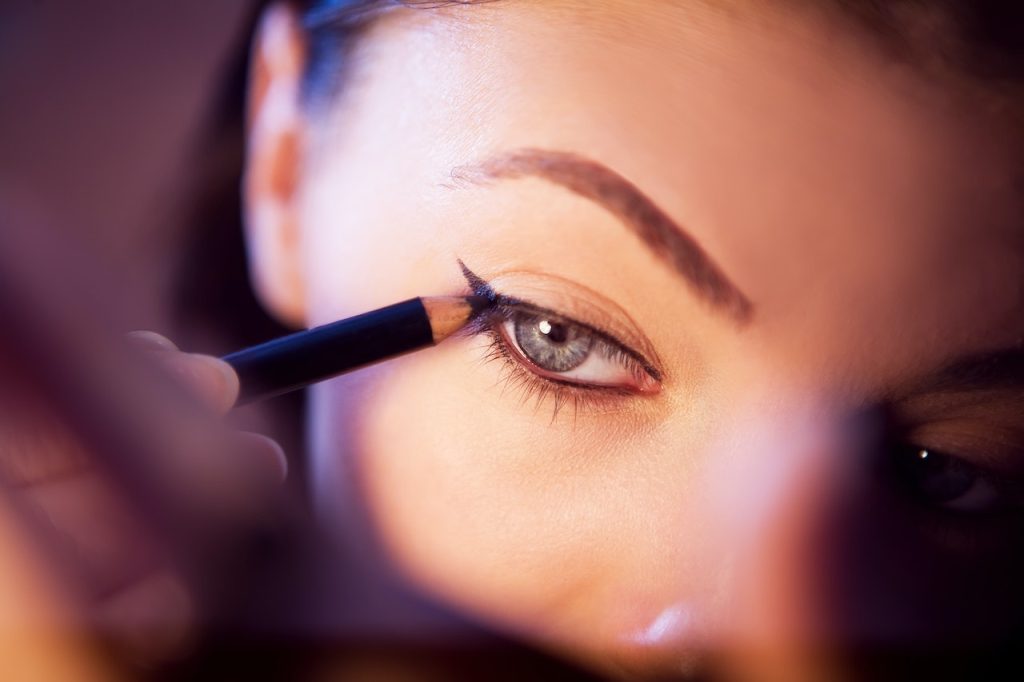
If there’s one makeup look that never goes out of style that’s a perfect winged eyeliner. This classic look will always be a safe bet. However, many women are daunted by the idea of creating the perfect wing. Fret not, today I will tell you perfect eyeliner technique for different eye shapes.
Applying the perfect cat eye definitely takes some practice but it’s not an impossible task. In fact, the people who consistently mess up the wing have often not paid attention to their eye shape. The method of winged eyeliner is different for every eye shape. Once you’ll follow the guide that is best suited for your eye shape, your makeup skills will improve drastically.
Eyeliner Guide For Your Eye Shape
Almond-shaped eyes
Almond-shaped eyes are lucky because they can rock various eyeliner styles. Start by applying eyeliner along the upper lash line, gradually thickening it towards the outer corner. You can create a winged effect by extending the liner slightly upwards and outwards. To make your eyes appear wider, line your lower lash line with a thin stroke or use a nude-colored pencil to brighten the waterline.
Tip: For an intensified look, smudge a dark eyeshadow along the lower lash line, and don’t be afraid to play with different colors!
Round Eyes
To elongate and define round eyes, start by applying eyeliner along the upper lash line, keeping it thin towards the inner corner. As you reach the outer corner, extend the liner in a gentle upward flick to create a subtle cat-eye effect. Avoid lining the lower lash line completely to maintain the illusion of length. Instead, apply a flesh-toned or white liner to the waterline to open up your eyes.
Tip: If you want to make your eyes appear more almond-shaped, draw a thin line of eyeliner along the lower lash line, starting from the middle and extending slightly towards the outer corner.
Hooded Eyes
Hooded eyes have a naturally defined crease, so it’s important to work with that feature. Apply eyeliner along the upper lash line, making sure the line is visible even when your eyes are open. Consider using a waterproof formula to prevent smudging. Avoid creating a thick line as it can make your eyelid space look smaller. Instead, opt for a thinner line or a soft smudged effect. Experiment with different eyeshadow techniques to complement your eyeliner.
Tip: To create the illusion of more lid space, apply a light-colored eyeshadow on the mobile lid area and blend it towards the brow bone. Then, apply a slightly darker shade in the crease to add depth.
Monolid Eyes
Monolid eyes don’t have a visible crease, so the goal is to create depth and definition. Start by applying eyeliner along the upper lash line, gradually thickening it towards the outer corner. Extend the line slightly upward to create a winged effect. To open up your eyes, apply a thin line along the lower lash line, connecting it to the winged liner. Use a smudging brush to soften the lines and create a softer, more diffused look.
Tip: Waterproof and smudge-proof eyeliners are your best friends when dealing with monolid eyes to prevent any unwanted smearing throughout the day.
Upturned Eyes
Upturned eyes have a natural lift at the outer corners, so the key is to accentuate this feature. Start by applying eyeliner along the upper lash line, starting from the inner corner and gradually thickening the line as you reach the outer corner. Extend the liner slightly upwards and outwards to emphasize the upward slant. For the lower lash line, apply a thin line starting from the middle and extending towards the outer corner, connecting it to the upper liner.
Hack: If you want to create a more dramatic look, use a pencil liner in vibrant color on the waterline to make your eyes pop.
Downturned Eyes
To counter the natural downward slant of downturned eyes, you want to create an uplifting effect. Begin by applying eyeliner along the upper lash line, starting from the inner corner and gradually thickening it towards the outer corner. As you reach the outer corner, extend the liner slightly upwards in a subtle wing. Keep the line thinner towards the inner corner to avoid closing off the eyes. For the lower lash line, apply a thin line starting from the inner corner and extending towards the outer corner, connecting it to the upper liner.
Tip: Applying a shimmery eyeshadow on the inner corner of the eyes can help brighten and lift the overall look.
Close-set Eyes
For close-set eyes, the goal is to create the illusion of more space between them. Begin by applying eyeliner along the upper lash line, starting from the inner corner and gradually thickening it as you reach the outer corner. Extend the liner slightly beyond the outer corner to visually widen the eyes. Avoid lining the inner corner, as this can make the eyes appear closer together. For the lower lash line, start the liner from the middle of the eye and extend it towards the outer corner, connecting it to the upper liner.
Hack: Applying a light-colored eyeshadow on the inner corner and blending it towards the center of the lid can help create the illusion of more distance between the eyes.
Wide-set Eyes
To balance out the space between wide-set eyes, you want to bring them closer together visually. Start by applying eyeliner along the upper lash line, starting from the inner corner and gradually thickening it as you reach the outer corner. Extend the liner slightly inwards towards the inner corner, stopping just before the tear duct area. This helps create a more centralized focus. For the lower lash line, apply a thin line starting from the inner corner and extending toward the outer corner.
Tip: Adding a touch of dark eyeshadow or eyeliner on the outer third of the lower lash line can help create a more connected look between the eyes.


