
Jeans are a timeless wardrobe staple, but sometimes you want to add a little extra flair to your favorite pair. Distressed denim has been a fashion trend for decades, and it’s a great way to give your jeans a unique and edgy look. In this DIY guide, we’ll show you how to distress a pair of normal jeans by leaving the white threads exposed. With a few simple tools and a little creativity, you can transform your plain jeans into a fashion-forward statement piece.
Materials You’ll Need
Before you begin, gather the following materials:
- A pair of jeans
- Chalk or a washable fabric marker
- Sandpaper (medium and fine-grit)
- Tweezers
- Scissors
- Optional: a cheese grater, pumice stone, or a razor for more advanced distressing
- Old newspapers or a drop cloth to protect your work surface
- A washing machine (for that final distressed look)
Step-by-Step Guide
- Choose the Right Pair of Jeans: Start with a pair of jeans that you’re willing to distress. Keep in mind that not all jeans are suitable for this DIY project. Thicker denim tends to work best, as it holds up to distressing without easily falling apart.
- Plan Your Distressing: Use chalk or a washable fabric marker to mark the areas you want to distress. Common distressing areas include the knees, thighs, pockets, and hems. However, you can get creative and distress other parts of your jeans as well.
- Create Frayed Edges: For a classic distressed look, use medium-grit sandpaper to gently rub the marked areas. This will start to fray the denim and expose the white threads beneath. Be patient and work slowly, as you can always distress more, but it’s challenging to reverse the process.
- Add More Detail (Optional): If you want to take your distressed jeans to the next level, consider using a cheese grater, pumice stone, or razor to create different textures. These tools can produce more pronounced distressing effects, such as larger holes or unique patterns. Just be cautious not to overdo it.
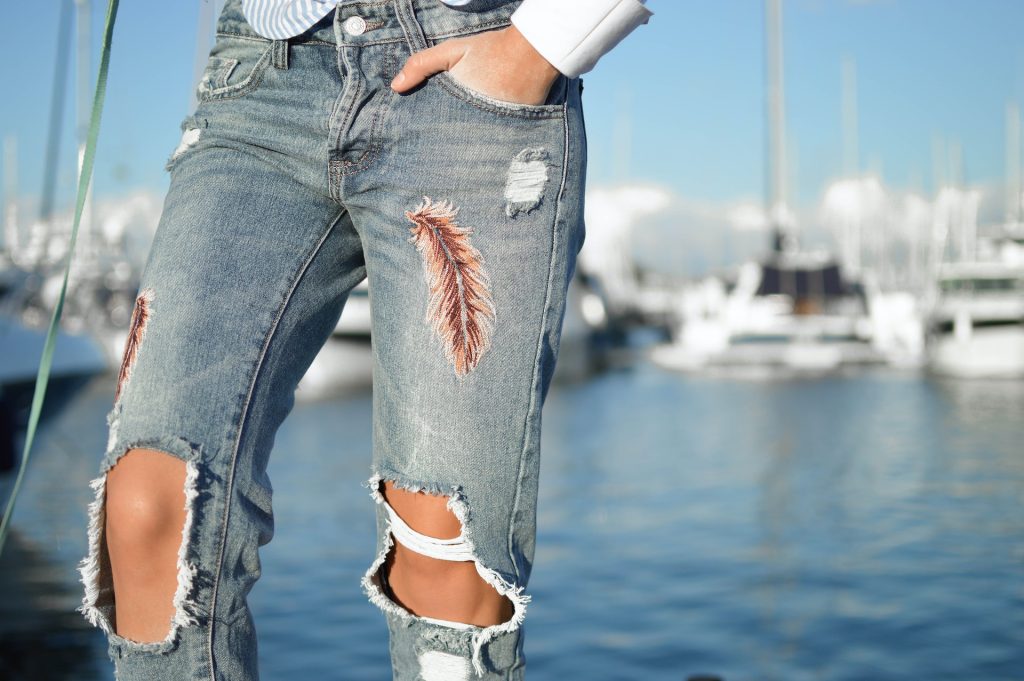
- Pull Out White Threads: After you’ve created the desired distressed look, use tweezers to carefully pull out some of the white threads. This will enhance the frayed effect and give your jeans a worn-in appearance. You can remove as many or as few threads as you like to achieve the desired look.
- Trim Excess Threads: Use scissors to trim any excess threads that are sticking out too much or in unwanted places. This step helps refine the distressed look and ensures your jeans look neat and intentional.
- Wash Your Jeans: To set the distressed look and soften the denim, wash your jeans in the washing machine. Use a gentle cycle with cold water and avoid using fabric softener. You can also add a few heavy items like towels or sneakers to help further distress the denim during the wash.
- Style Your Distressed Jeans: Once your distressed jeans are clean and dry, they’re ready to be styled. Pair them with your favorite t-shirt and sneakers for a casual look, or dress them up with a blouse and heels for a more elevated ensemble.
Conclusion
To DIY distress jeans by leaving the white threads exposed is a fun and creative way to breathe new life into your denim collection. With just a few simple tools and a bit of patience, you can transform a plain pair of jeans into a unique fashion statement. So, grab your old jeans, unleash your inner fashion designer, and give your wardrobe a fresh and edgy twist with DIY distressed denim!